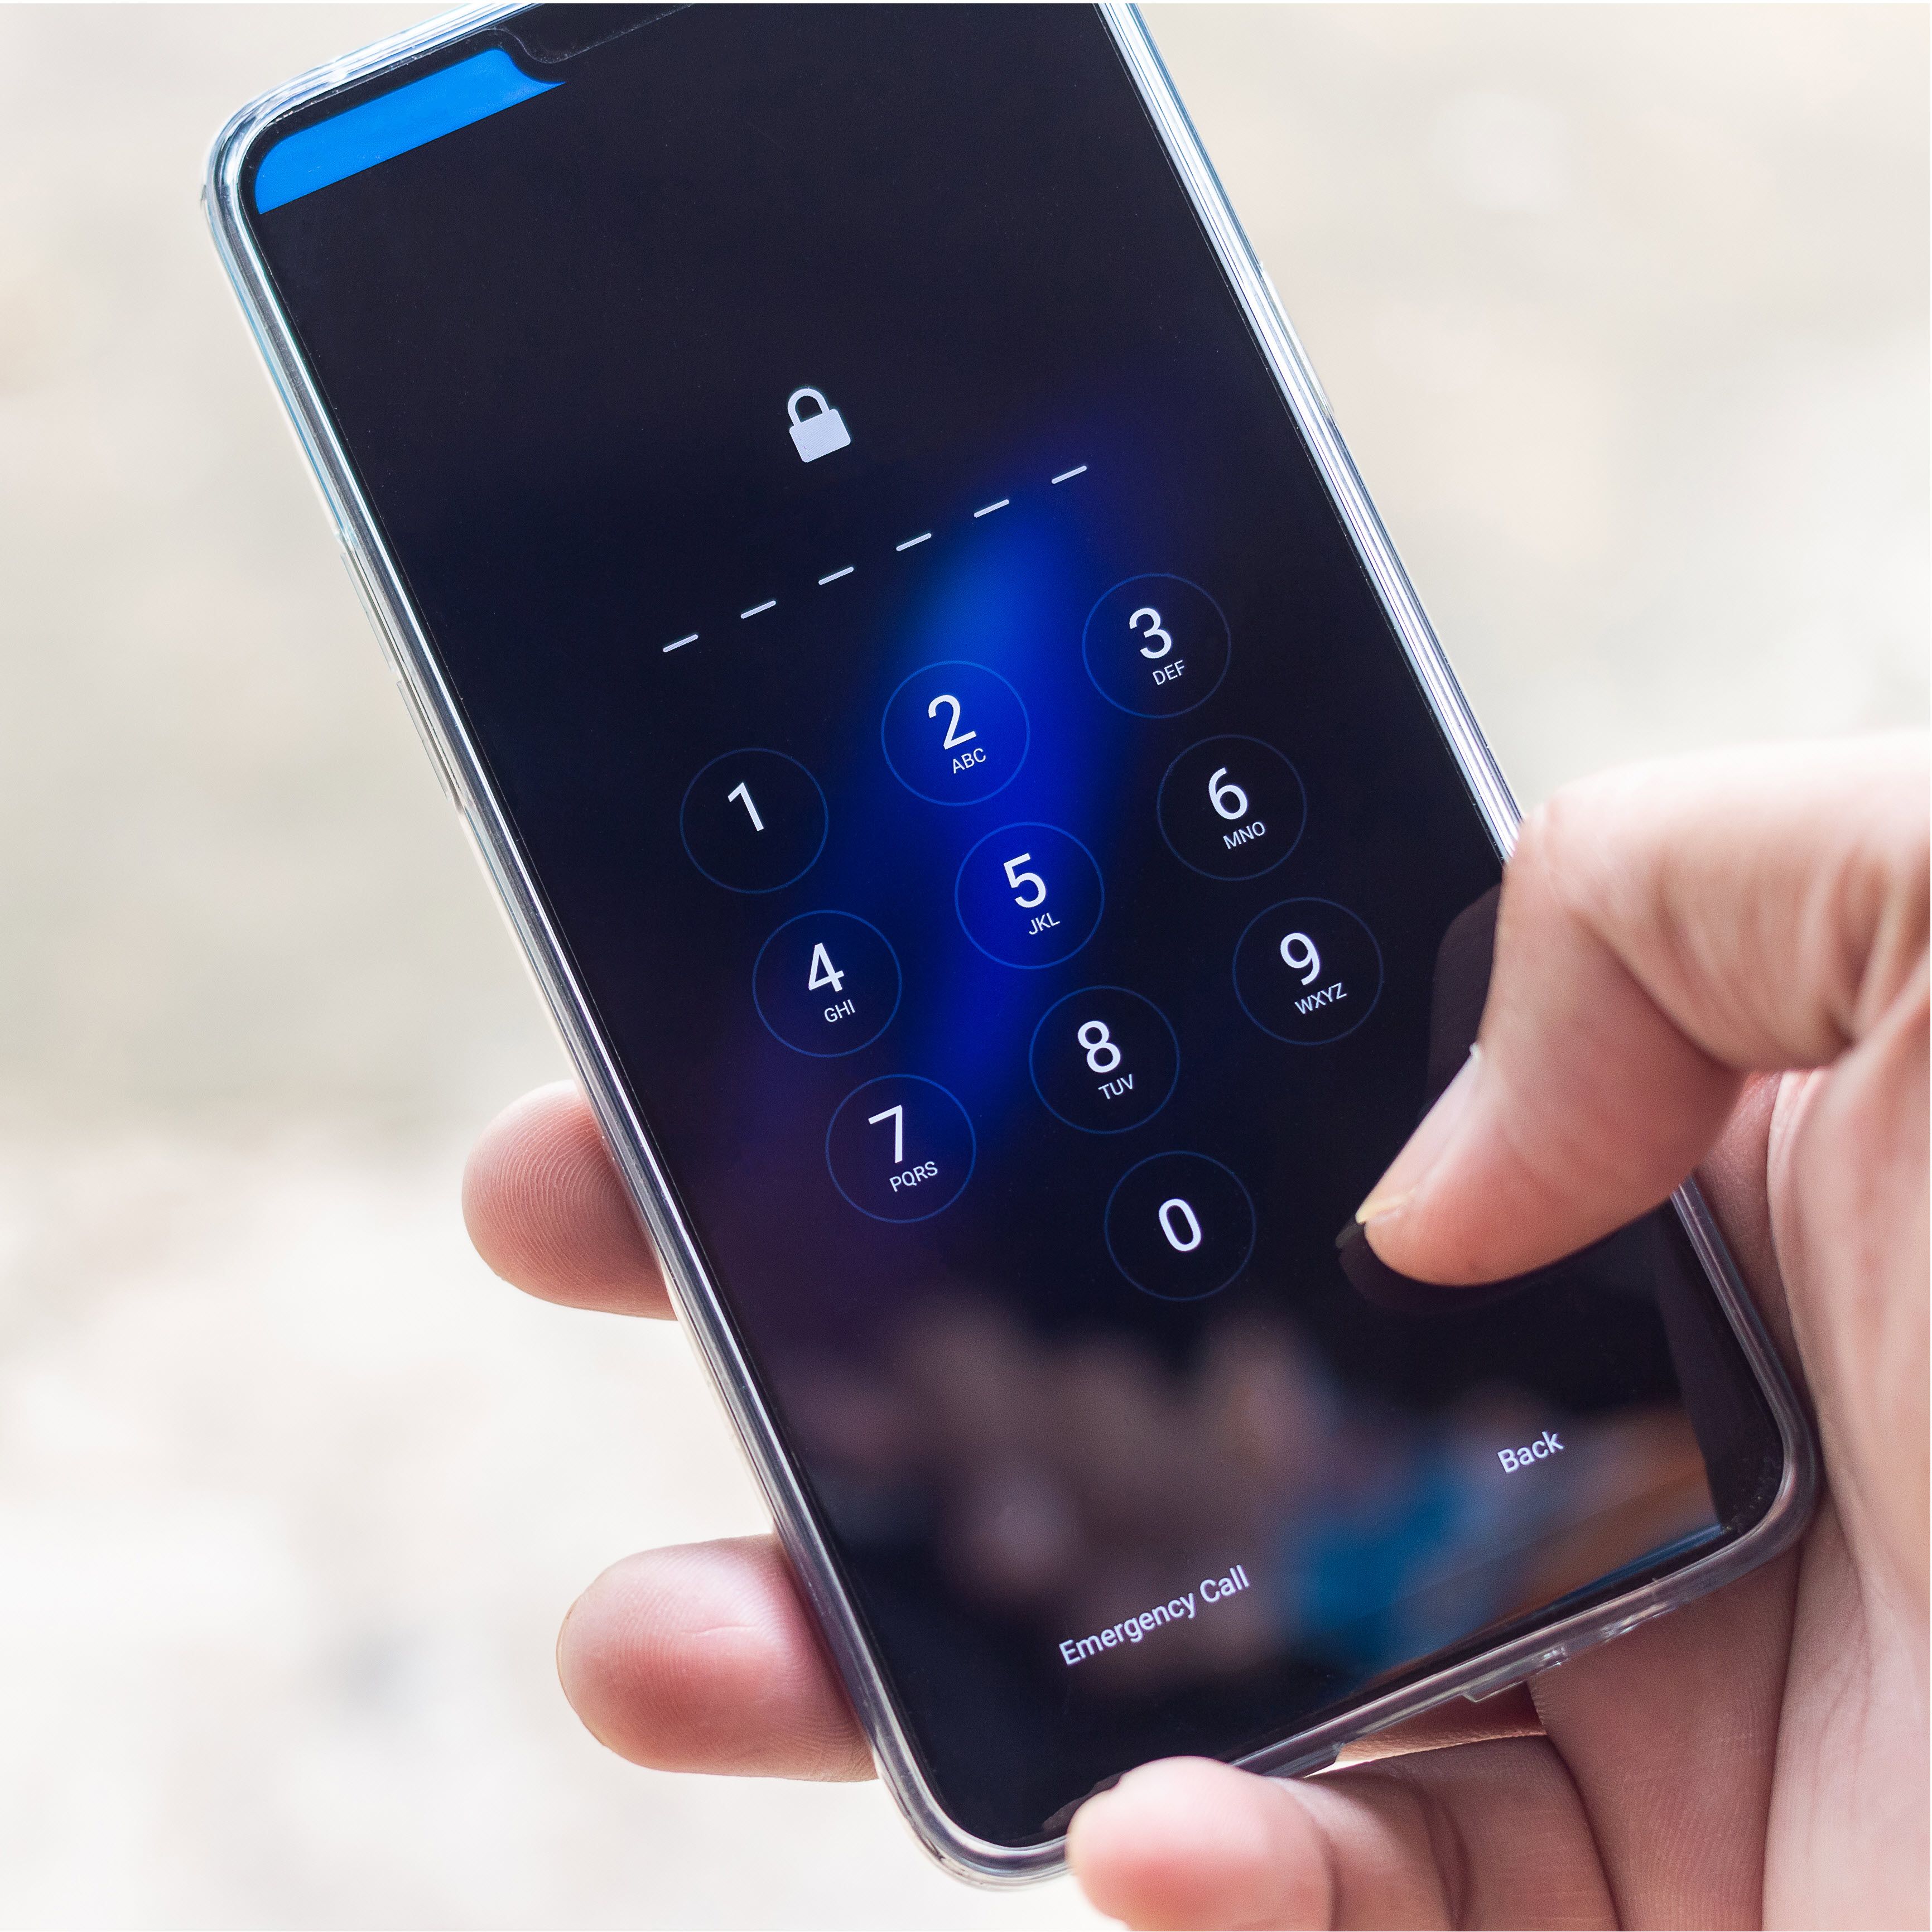
When returning your leased devices, it is important that all locks and passwords, such as BIOS passwords or MDM software, are removed in advance, as these can hinder the processing and resale of the devices. If devices are returned with active locks, a fee of €35 per device will be charged. To simplify the process, we will store the passwords you provide—unless otherwise contractually agreed—and use them for future returns, so you will not receive further requests for devices with a known password. The fee for locked devices remains unaffected and may also apply to passwords that were not specifically requested. If you do not want your passwords to be stored, please let us know explicitly; in this case, the passwords will be deleted after one-time use. Please note that we do not accept any liability for the completeness or accuracy of the information provided.
Security Measures & Device Locks
Overview of device locks
PC / Laptop / Server / Network Devices / AIO / Workstation
BIOS/UEFI password
A BIOS password can be set up to restrict access to a computer's Basic Input/Output System (BIOS) to prevent unauthorized changes to system settings.
BIOS/UEFI Administrator Password
BIOS/UEFI Administrator Password protects the BIOS/UEFI from unauthorized access. It is needed to change settings such as boot order or secure boot.
Disk Password
Hard drives (HDD) and solid-state drives (SSD) can be temporarily or permanently locked or unlocked with a password.
Housing lock
A physical lock attached to the device or an integrated deadbolt with a locking mechanism protects against unauthorized access to the hardware components.
Network Operating Systems
Network devices (e.g., routers, switches) typically have proprietary operating systems that are secured by a username and password combination.
Absolute Software
Absolute Software is a security solution built into the BIOS that can locate, lock, and automatically recover devices after a reset.
DFCI Lock
DFCI (Device Firmware Configuration Interface) is an Intune feature that can be used to remotely lock or control BIOS/UEFI settings such as boot order or USB access.
Portable Devices / Paired Devices
Many wearable devices — such as smartwatches — are paired with a smartphone. To avoid activation lock or user lock-in, these devices must be unpaired before returning.
Smartphones / Tablets
Apple ID
The Apple ID is a central user account that provides access to various Apple services such as the App Store, Apple Music, iCloud, iMessage, and FaceTime. With a single Apple ID and password, all services can be used.
Google ID
The Google ID is a user account that is used to authenticate to numerous Google services – comparable to the Apple ID or Samsung ID.
Activation Lock
This security feature protects against unauthorized use of lost or stolen devices. The device remains tied to the last user and can only be activated with their credentials.
Factory Reset Protection (FRP)
Factory reset protection is a security measure that prevents a device from being factory reset and reused without the consent of the previous user – especially in the event of loss or theft.
Printing Systems / Service Menu
This is a special menu for maintenance and service activities, protected by a PIN or password.
Administrator / Superuser Password
A special administrator password can be set up to restrict access to sensitive areas of the printer menu, such as security features or network settings.
Integrated web server
The device settings can be accessed via a web browser by entering the IP address of the printer and using a corresponding password.
Security and card reader applications
Users authenticate themselves on the device with an RFID card and/or with a username and password or PIN.
Individualized devices / boat logos
When some devices – such as laptops – are booted up, a company logo or lettering is displayed. If this is not removed, the impression may arise that the device was not properly purchased or handed over.
VR glasses: manufacturer-specific platforms or MDM locks
Virtual reality (VR) glasses or headsets – such as Meta Quest, HTC Vive or Pico – can be linked to user accounts or mobile devices and managed via proprietary platforms or MDM systems. For a smooth return or reuse, all accounts, user data and management profiles must be removed. Factory reset should be done according to the official instructions, depending on the manufacturer.
Services
Device Enrollment Program (DEP)
The Apple Device Enrollment Program is part of the company-wide deployment solutions and enables pre-configuration of iOS devices and Macs so that they can be seamlessly integrated into existing corporate structures.
Android Enterprise Enrollment
Android Enterprise Enrollment is a service from Google that helps companies pre-configure Android-based devices to enable fast and secure integration into the company's own IT infrastructure.
Microsoft Windows Autopilot
This is a collection of technologies for setting up and pre-configuring new Windows devices, including PCs and HoloLens 2.
Mobile Device Management (MDM)
Mobile Device Management is a central management system for mobile devices such as smartphones, notebooks, laptops, PDAs or tablets. MDM enables unified configuration, security, and control of all mobile devices in the enterprise.
General Notice
Please note that the different types of device locks are often used in combination to increase both convenience and security.
For example, an iPhone can be simultaneously enrolled in the Device Enrollment Program (DEP), managed by an MDM solution, and additionally linked to an Apple ID.
Therefore, it is especially important to remove all locks completely, in the right order, and at the right time to avoid complications when returning or reusing!
General Notice
The above list of possible blocks is not exhaustive and serves only as a possible assistance / check list.
Instructions for removing security measures (remote locks)
Ios
Apple ID / "Find my" (FMI)
iPhone & iPad
Procedure:
1. Open Settings > General > Transfer or Reset [Device]
2. Tap on "Erase All Content and Settings"
3. Enter the device passcode or Apple ID if necessary
4. Wait for the deletion process to complete
MacBook & iMac & Mac mini & Mac Studio
Procedure:
1. On your Mac, go to:
Apple menu > System Preferences > General > Erase all content and settings
2. Follow the wizard and enter the user password if necessary
3. All data, user accounts, and Apple services will be removed
4. Check if Find My Mac / Activation Lock is disabled
Apple Watch
Procedure:
1. Remove Apple Pay cards (if you have one)
- Open the Wallet app on your watch
- Tap the map
- Select Remove
2. Unpair via iPhone (recommended):
- Hold your Apple Watch near your iPhone
- Open the Apple Watch app on iPhone
- Choose: My Watch > All Apple Watches
- Tap the "i" icon next to the clock
- Choose Unpair Apple Watch
- Enter your Apple ID to turn off Activation Lock
- Confirm with "Unpair"
3. If there is no more pairing (reset manually):
- On the watch: Settings > General > Reset > Erase all content and settings
- If necessary, enter the device code
- Confirm with "Erase All"
Activation Lock Review & Removal via iCloud (optional, recommended):
- Go to: https://www.icloud.com
- Sign in with your Apple ID
- Click on "iPhone Search" > "All Devices"
- Choose your Apple Watch
- Click Erase Apple Watch
- Then click on "Remove from account"
Apple Business Manager (ABM), Apple School Manager (ASM) / Apple DEP
Procedure:
Step 1: Login to ABM/ASM
1. Open the corresponding website:
🔗 Apple Business Manager: https://business.apple.com/
🔗 Apple School Manager: https://school.apple.com/
2. Log in with your administrator account.
Step 2: Search & Select Device
1. Go to "Devices" in the left menu.
2. Enter the serial number or IMEI of the device in the search.
3. Select the appropriate device(s) by checking the box.
Step 3: Remove device(s) from the organization
1. Click on "Remove Devices" in the top right corner
(English: "Release Devices" or "Remove Devices").
2. Confirm the selection in the dialog box.
Step 4: Check & Unassign MDM
1. If the device is still assigned to an MDM server:
2. In the device view, select the device → select "Remove MDM Server".
Step 5: Reset your device
- Reset the device to factory settings:
- Settings → General → Reset → Erase All Content & Settings (or alternatively via DFU mode)
- After the reset, no DEP-bound Activation Lock is active.
Important notes:
- DEP (Device Enrollment Program) is now part of ABM/ASM.
- Removing from ABM/ASM automatically removes the automatic MDM assignment.
- In the MDM console, the device may need to be wiped separately to stop management there.
- It can take up to 24 hours to remove. After that, the device is no longer bound to an MDM and can be re-enrolled by another organization.
Android
Google ID / Manufacturer ID / Google Factory Reset Protection (FRP)
Procedure (may vary slightly depending on the device):
1. Open the Settings app
2. Go to: Settings > Accounts > Remove Google > Account
3. Go to: Settings > Accounts > Remove Manufacturer Account > Account
4. Go to: Settings > Accounts > Microsoft (if any) Remove > account
5. Go to Reset System > Options > Factory Reset
6. Confirm with your device passcode or Google account
Note on Google FRP
To ensure that the device does not remain locked after the reset, the Google account and the manufacturer's account must be removed beforehand.
Samsung Knox Mobile Enrollment (KME)
Procedure:
Step 1: Log in to Samsung Knox
1. Open the website: https://central.samsungknox.com/login-navigator
2. Log in with your admin account .
Step 2: Find device(s)
1. Go to "Devices" in the main menu.
2. Search for the corresponding device using the serial number or IMEI .
3. Select the device(s) by checking the box.
Step 3: Remove device(s) from Knox
1. Click on " Remove Devices" in the top menu.
2. Confirm the selection in the dialog box.
Step 4: Check assignment to profiles (optional)
1. If the device is still assigned to a KME profile :
2. Remove it from the profile under:
Remove Profile Management → Device List → Device
Step 5: Reset your device
- Reset the device to factory settings :
- Settings → General Administration → Reset → Factory Reset
(or via recovery/download mode)
- Settings → General Administration → Reset → Factory Reset
- After the reset, an MDM profile will no longer be loaded.
Important notes
- Devices enrolled through Knox are protected by forced MDM during reset.
- Removing it from KME breaks this bond.
- If necessary, also check if the device has been removed from the MDM console (e.g., Intune, SOTI, MobileIron, etc.).
- The device will be removed from KME .
- The next time you reset, automatic MDM enrollment will no longer be enforced .
- The activation is permanent, unless the device is re-registered via Knox.
Android Zero-Touch / Android Enterprise
Procedure:
Step 1: Login to the Zero-Touch Portal
1. Open the website:
🔗 https://partner.android.com/zerotouch
2. Sign in to Zero-Touch with your Google Account (Gmail or Google Business Account).
Step 2: Find device(s)
1. Click on "Devices" in the left menu.
2. Use the search box to search by IMEI, serial number, or username .
3. Select the desired device(s) by checking the box.
Step 3: Remove Device from Zero-Touch
1. Click "Remove" at the top.
2. Confirm the selection in the confirmation dialog.
Important:
- After removal, the next time you reset, automatic MDM assignment will no longer be applied.
- The device can be re-enrolled by other organizations .
Step 4: Check Assignment to Configuration Profile (Optional)
1. If the device is assigned to a configuration profile:
2. Remove it under:
Select configurations → profile → Edit devices → remove devices
Step 5: Reset your device
- Reset the device to factory settings :
Settings → System → Reset → Factory Reset (or via Recovery Mode) - After that, automatic enrollment or MDM enrollment will no longer be active.
Hints
- The device remains physically linked to the retailer until they remove it from their inventory.
- If you want to resell or transfer devices, ask the dealer or distributor to remove the device from their reseller list.
Devices assigned via zero-touch cannot be manually removed by users – only by administrators or through the reseller
Windows
Microsoft Intune / Azure AD / Windows Autopilot
Procedure:
Step 1: Sign in to the Intune admin center
1. Open the website:
🔗 https://intune.microsoft.com
2. Sign in with your Microsoft administrator account .
Step 2: Find your device
1. Navigate to:
Device Management → All Devices (Devices → All devices)
2. Search for the device via:
- Device name
- Serial number
- Username
- IMEI (for mobile)
3. Select the appropriate device from the list.
Step 3: Remove DFCI Profiles (If Any)
1. In the left navigation, navigate to:
Device configuration → profiles
2. Locate the DFCI profile(s) (e.g. "DFCI - BIOS Lockdown")
→ These are configuration profiles that set UEFI/BIOS settings.
3. Remove the assignment of these profiles from the device:
- Open the profile
- Remove the assignment under "Assigned Groups"
Step 4: Remove device from Intune
1. Click on "..." (More options) or on "Delete" at the top.
2. Confirm the deletion process in the dialog box.
Important:
- This step removes the device from Intune and breaks MDM management.
- The next time you sync devices, allMDM policies and configurations will be reset.
Step 5: Check and unmap Azure AD
1. Open the Microsoft Entra admin center (formerly Azure AD):
🔗 https://entra.microsoft.com
2. Jump to:
Identities → Devices → All Devices
3. Search for the device and select "Delete" to remove it from Azure AD as well.
Step 6: Remove device from Windows Autopilot (if enrolled)
1. In the Intune admin center, go to:
Devices → Windows → Windows Deployment (Windows enrollment)
2. Select Devices under Windows Autopilot Deployment Program.
3. Search for the device (e.g. by serial number).
4. Check the box and click "Delete".
Important: OEM devices and tenant lock
- If the device was delivered with an OEM autopilot profile (e.g. directly from the manufacturer or system house), it may be linked to a so-called tenant lock.
- In this case, Microsoft's hardware hash is assigned to a fixed tenant (tenant ID) – regardless of whether the device was deleted in Intune or Azure AD.
- This means:
Even after resetting and removing from Intune/Azure AD, the device can reconnect to the original tenant, especially when reconnecting to the internet. - Solution:
The original tenant administrator (e.g., system vendor or vendor) must open a ticket with Microsoft to remove the device from the Autopilot assignment ("Unlink Autopilot device from tenant").
Without this step, automatic tenant assignment will remain.
Step 7: Reset your device
- Reset the device to factory settings :
- Android/iOS: Reset → via Settings
- Windows: Settings → System → Recovery → Reset This PC
- After the reset, no MDM assignment is active.
Further information
- A device must be removed from both Intune and Azure AD to be fully released.
- Some devices automatically sign back into Intune when they reconnect to the same account → check Autopilot/Enrollment.
- For Windows devices enrolled on Autopilot , the Autopilot profile may also need to be removed
Others
Additional security measures (combinations with iOS, Android, Windows, and other operating systems)
VMware Workspace ONE (AirWatch)
Procedure:
Step 1: Registration
1. Open your Workspace ONE console
2. Log in with your admin account
Step 2: Find your device
1. Navigation: Devices → List View
2. Search by device name, user, or serial number
3. Click on the affected device
Step 3: Erase Device
1. Click on "More Actions" → "Delete Device" in the top right corner
2. Optional before: "Enterprise Wipe" to delete only the MDM profile
3. Confirm the selection
Step 4: Reset your device
Manually factory reset on the device
After that, there is no MDM assignment
MobileIron / Ivanti Neurons for MDM
Procedure:
Step 1: Registration
1. Log in to Ivanti as an admin
Step 2: Find your device
1. Menu: Devices → Search
2. Find the device you want by name, user, IMEI, etc.
Step 3: Erase Device
1. Select Device → Actions → Retire (for Soft Removal)
or
→ Delete (for complete deletion)
Step 4: Factory reset
Reset device manually (iOS/Android/WIN)
No MDM assignment after that
Cisco Meraki Systems Manager
Procedure:
Step 1: Registration
1. Log in to the Meraki Dashboard
2. Choose your network / location
Step 2: Find your device
1. Menu: Systems Manager → Monitor → Clients
2. Search by serial number, device name or user
Step 3: Remove Device
1. Select Device → Click on Trash Icon (Delete)
or: More → Remove from Network
Step 4: Reset
Manually reset the device to factory settings
SOTI MobiControl
Procedure:
Step 1: Registration
1. Log in to the SOTI console
Step 2: Find your device
1. Devices → search by serial number, IMEI or user
Step 3: Erase Device
1. Right-click on Device → Delete
2. Alternative: Unenroll Device
Step 4: Reset your device
Factory reset by device or via remote command
Jamf Cloud MDM
Procedure:
Step 1: Sign in to Jamf
1. Open the Jamf Web Console in your browser
2. Log in with your administrator account.
Step 2: Find your device
1. In the menu, go to Devices or Computers (depending on the device type).
2. Search for the device you want to remove, such as:
- Device name
- Serial number
- Username
Step 3: Select Device
1. Click on the device name to open the detail view.
Step 4: Remove Device (Unenroll)
Option A: Erase the device remotely
1. Click on Management or Management Commands.
2. Select Erase Device or Remove MDM Profile (depending on your platform and available commands).
3. Confirm the command.
The device resets and removes itself from Jamf management.
Step 5: Review
Check the device overview to see if the device is removed.
The device should no longer receive MDM profiles or apps.
Important notes:
A remote erase completely erases the device (factory settings).
Only deletion in Jamf removes the device from management, but does not delete any data on the device.
Devices managed by the Apple Device Enrollment Program (DEP) can be automatically re-enrolled after a reset if the device remains in the company's DEP portal.
General Notice
The information contained in this guide is based on the currently valid specifications and processes, including the requirements of the respective manufacturers. Please note that the specifications and information provided by the manufacturers can change at any time. CHG-MERIDIAN does not assume any liability for the completeness or up-to-dateness of the information provided, as changes and/or additions by the manufacturers may not be immediately reflected in these instructions. We recommend that our customers contact us or the manufacturer directly if they have specific questions or uncertainties.
Downloads
Other end-of-lease topics
 Logistics
Find out how CHG-MERIDIAN enables the safe and efficient return of your IT equipment.
Logistics
Find out how CHG-MERIDIAN enables the safe and efficient return of your IT equipment.
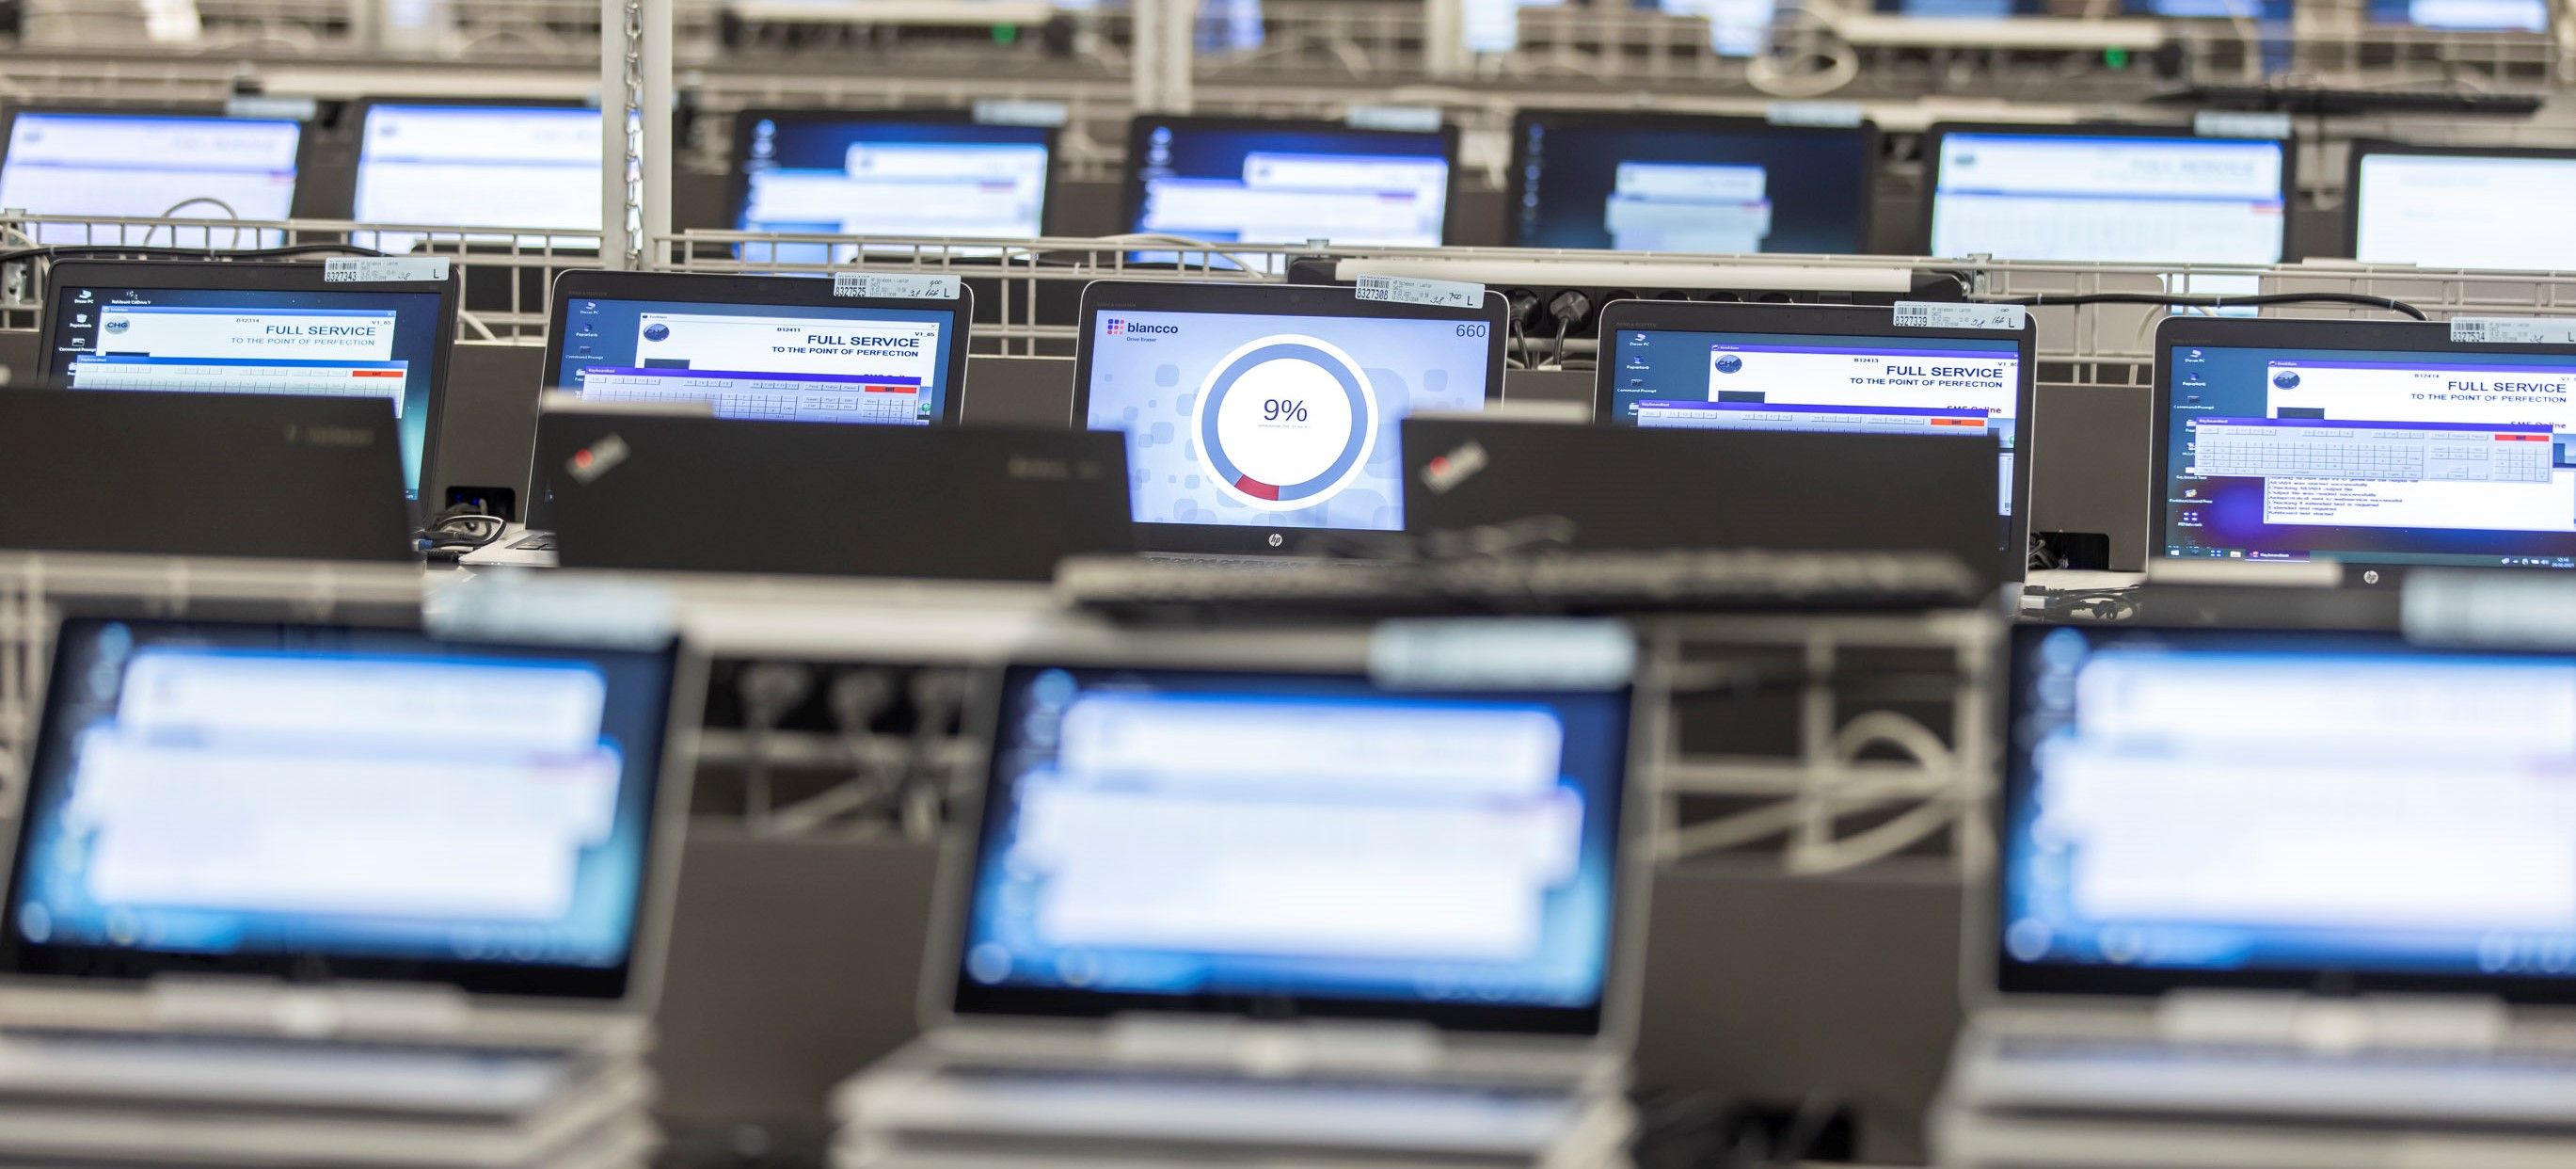 Data deletion
Our technology centers in Groß-Gerau and Skien offer you specially developed automated data deletion procedures.
Data deletion
Our technology centers in Groß-Gerau and Skien offer you specially developed automated data deletion procedures.
 Device Condition & Rating
Maximum transparency and control: Get all the important information about the device condition and the reuse of your returns.
Device Condition & Rating
Maximum transparency and control: Get all the important information about the device condition and the reuse of your returns.
 Device Return
Efficient, secure, sustainable: Find out how easy it is to return your devices to CHG-MERIDIAN.
Device Return
Efficient, secure, sustainable: Find out how easy it is to return your devices to CHG-MERIDIAN.